Roles and Access Control
Cube AI uses role-based access control (RBAC) to manage what users can see and do within a domain. Roles define permissions at the domain level and ensure that actions are performed only by authorized users.
Role-Based Access Control Overview
Access control in Cube AI is domain-scoped.
This means that:
- Users can belong to one or more domains
- A user may have different roles in different domains
- Permissions apply only within the currently active domain
Roles determine which UI features and actions are available to a user.
Roles in Cube AI
Each domain includes a default Admin role, which has full control over domain resources. The domain creator is automatically assigned the Admin role.
In addition to the default role, administrators can create custom roles with fine-grained permissions.
Managing Roles
Roles can be created and customized within each domain.
To manage roles:
- Open a domain.
- Navigate to Roles in the left-side menu.
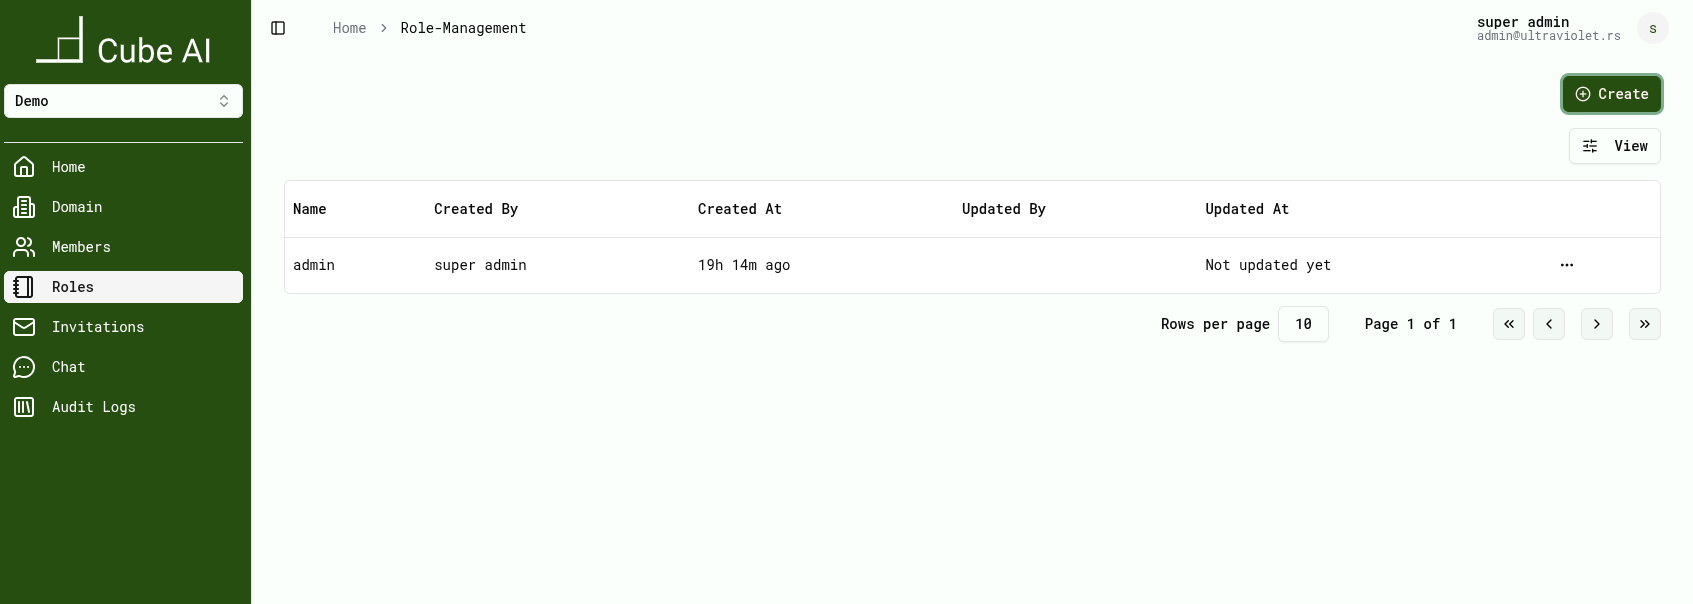
The Roles page displays:
- Role name
- Created by
- Created at
- Updated by
- Updated at
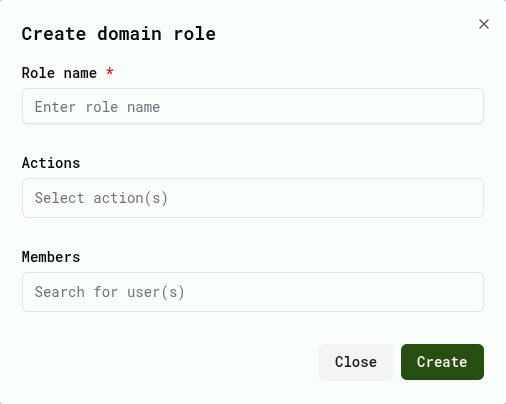
Creating a Domain Role
To create a new role:
- Click Create.
- Enter a Role name.
- Select one or more Actions (permissions).
- Optionally assign existing Members.
- Click Create.
Role Permissions (Actions)
Each role is assigned a set of actions (permissions) that define what operations users can perform within a domain.
Actions cover domain administration, model usage, audit log access, and other Cube-specific capabilities exposed in the UI.
Available actions are displayed directly in the role creation and editing UI. The list of actions is Cube-specific and may evolve between releases.
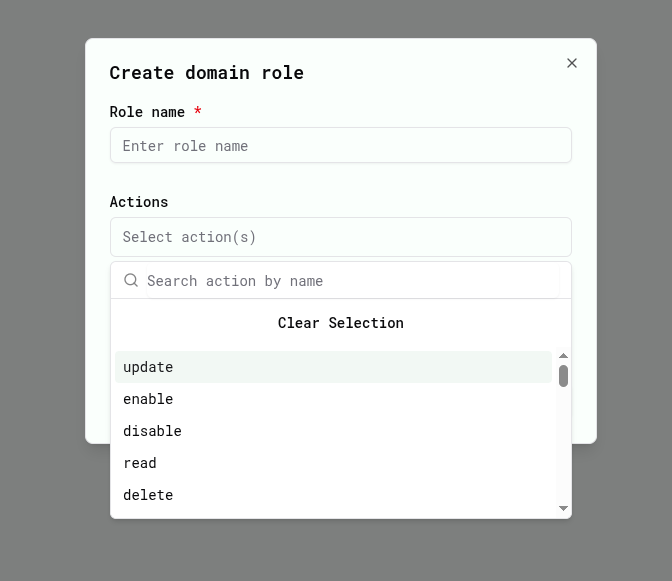
Administrators can select one or more actions when creating or editing a role. The selected actions determine which UI sections and operations are accessible to users assigned to that role.
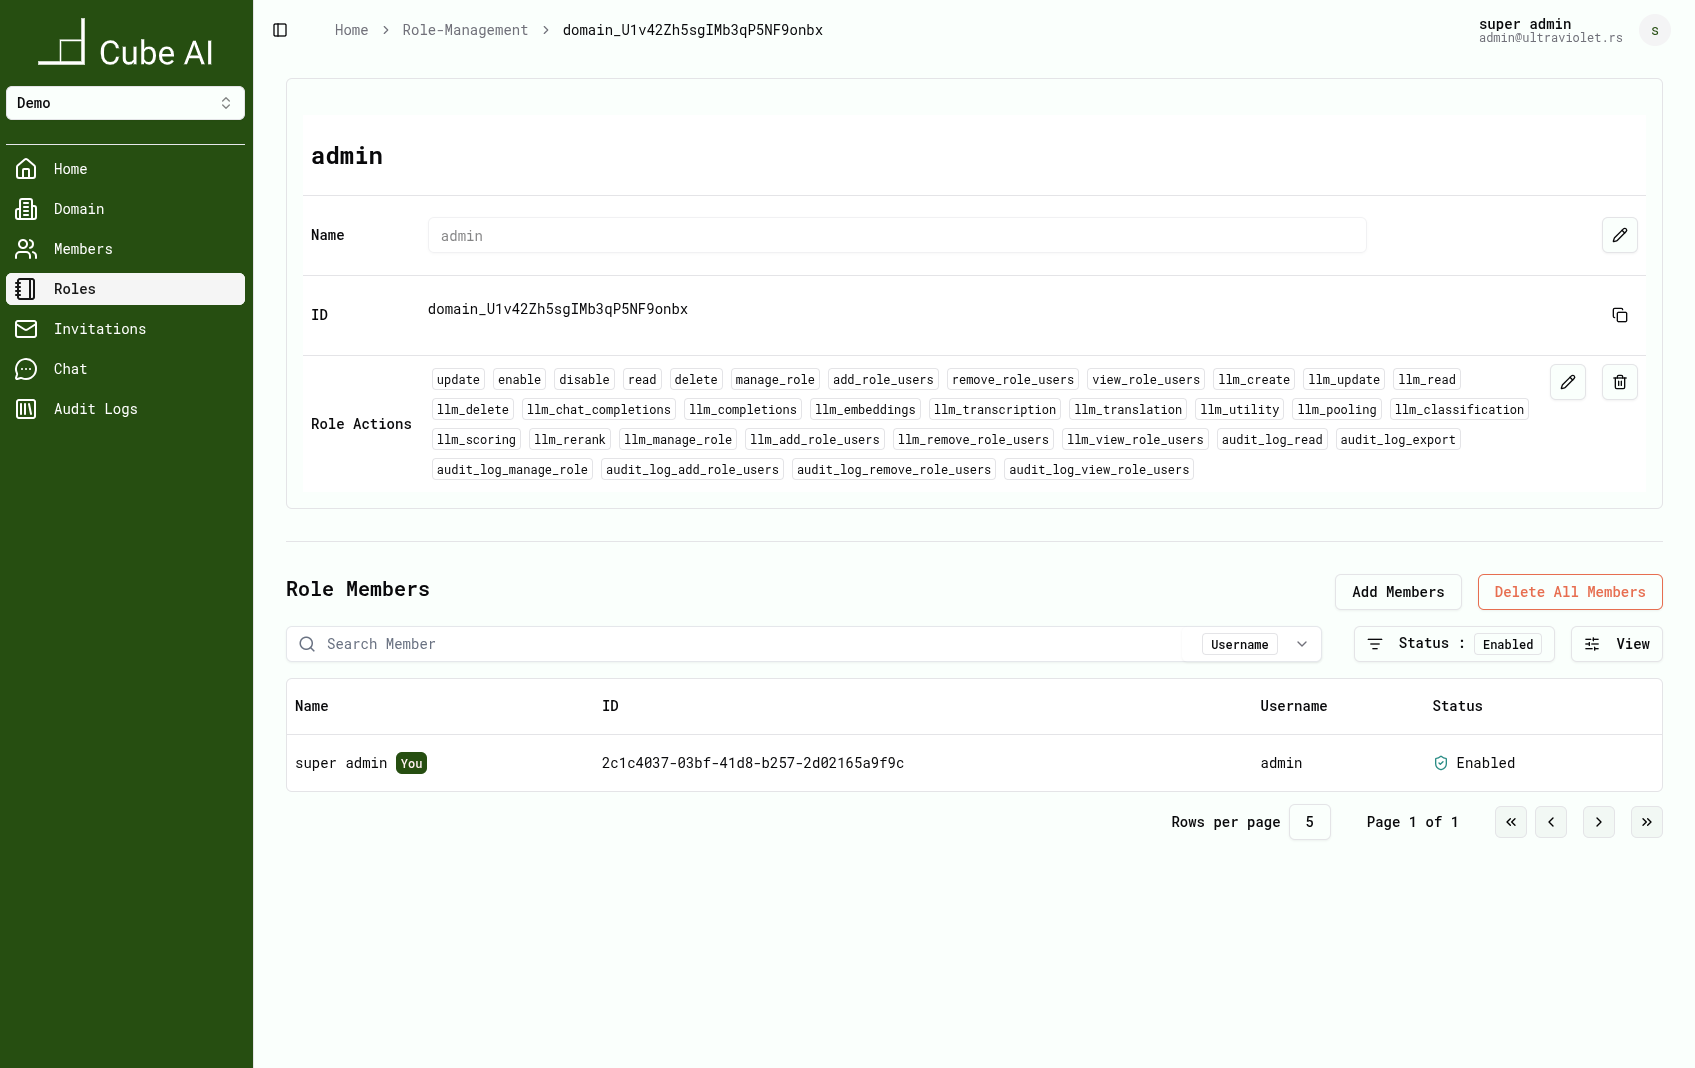
Editing a Role
Once created, roles can be modified from their respective role pages.
Users with sufficient permissions can:
- Update the role name
- Add or remove actions
- Assign or remove members
Role updates take effect immediately within the domain.
Inviting Domain Members
Domain administrators can invite users to join a domain.
- Open a domain.
- Navigate to Invitations.
- Click Send Invitation.
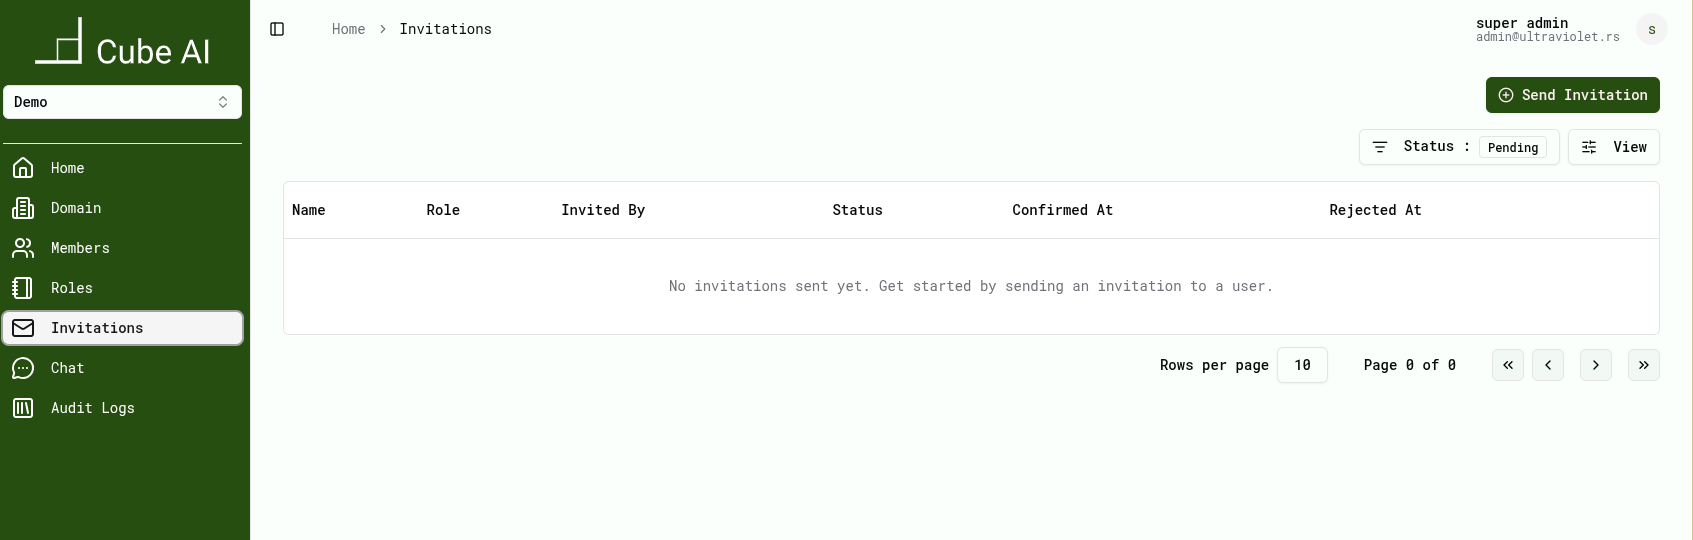
Sending an Invitation
- Select a user.
- Select a domain role.
- Click Send.

After sending:
- The invitation appears in the list
- Its status is set to Pending
- The user must accept the invitation before gaining access
Accepting an Invitation
An invited user must accept the invitation before becoming a domain member.
Acceptance is performed either via an email confirmation link or within the UI, depending on deployment configuration.
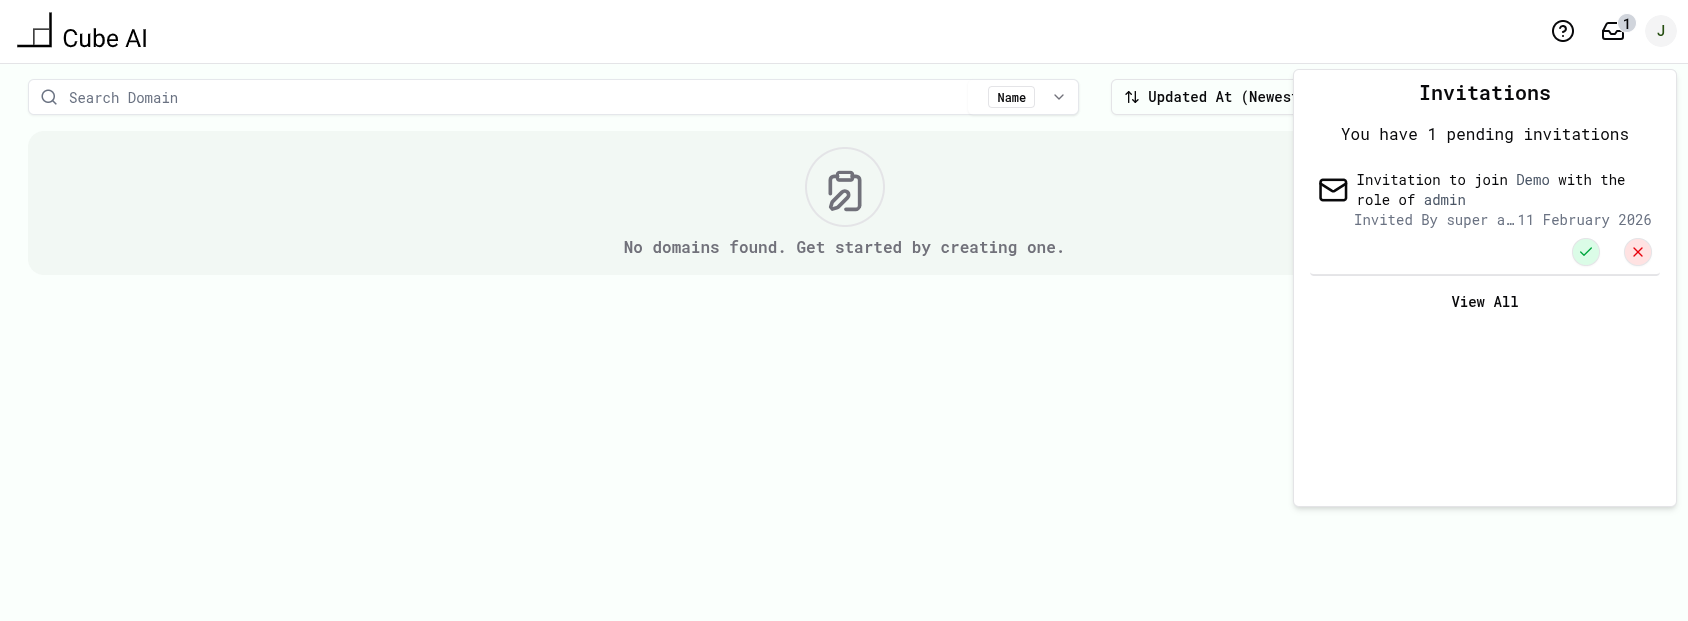
Once accepted:
- The user becomes a member of the domain
- The assigned role is applied immediately
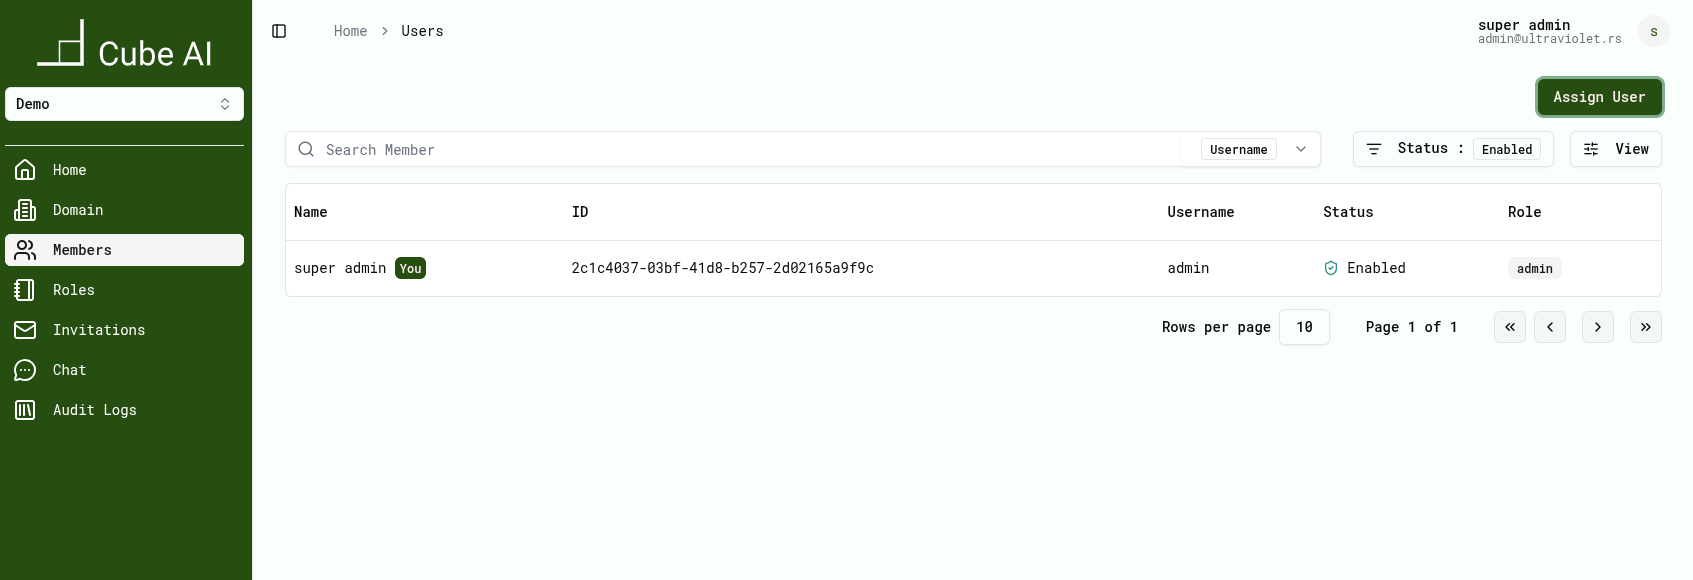
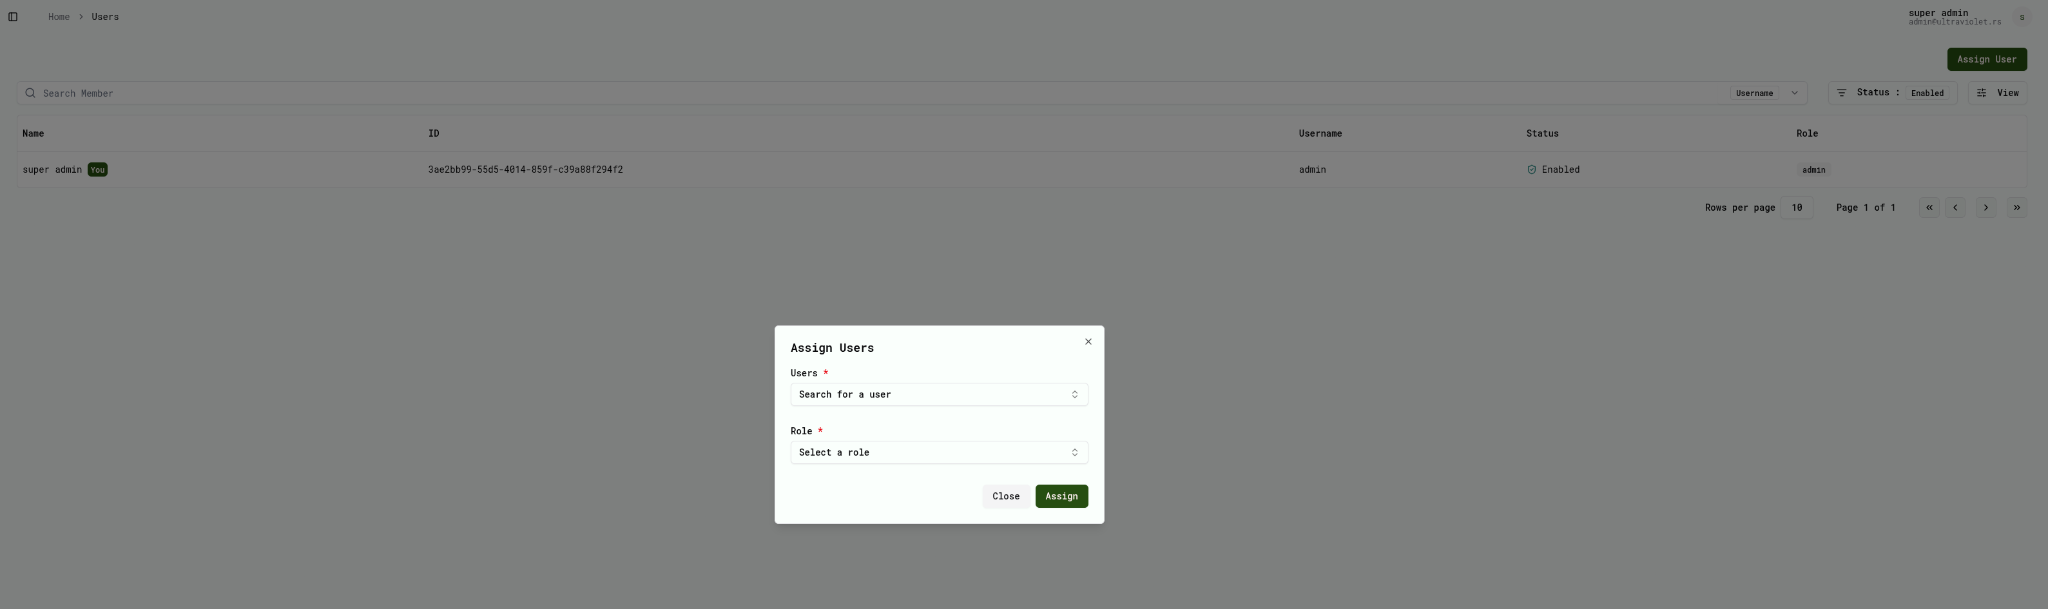
Assigning Roles to Members
Administrators can assign roles directly from the Members section.
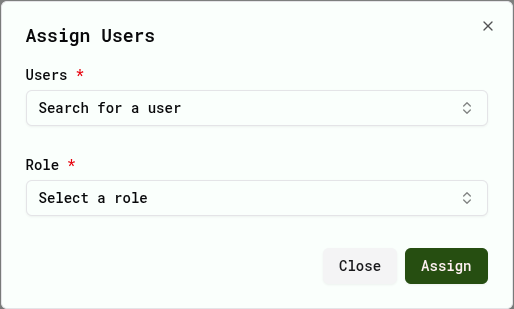
- Navigate to Members.
- Click Assign User.
- Select a user and role.
- Click Assign.
Removing Members
To remove a member from a domain:
- Navigate to Members.
- Locate the user.
- Use the available actions to remove the member.
Removing a member immediately revokes access to domain resources.
UI Behavior Based on Roles
The Cube AI UI adapts based on the active user's role.
Depending on permissions:
- Certain navigation items may be hidden
- Some actions may be disabled or unavailable
- Administrative sections may only be visible to authorized users
Auditing Role-Related Events
Changes to domain membership and roles may be recorded as security-relevant events.
For details on how such events are tracked, see: 👉 Security & Access → Audit Logs
Next Steps
To understand how access-related actions are monitored, continue with: 👉 Security & Access → Audit Logs
For domain workflows, see: 👉 UI → Domains