Continue for VS Code
Continue Integration for VS Code
Cube AI scope
Cube AI acts as a secure LLM backend responsible for authentication, model routing, and model execution. It does not manage editor state, files, or code context — those are handled locally by the Continue extension running inside VS Code.
The Continue extension brings Cube AI’s LLM capabilities directly into Visual Studio Code, enabling inline completions, refactoring help, and chat-based assistance.
This guide explains how to connect Continue with a Cube AI domain.
1. Install Requirements
-
Install Visual Studio Code
Visual Studio Code -
Install the Continue extension
Continue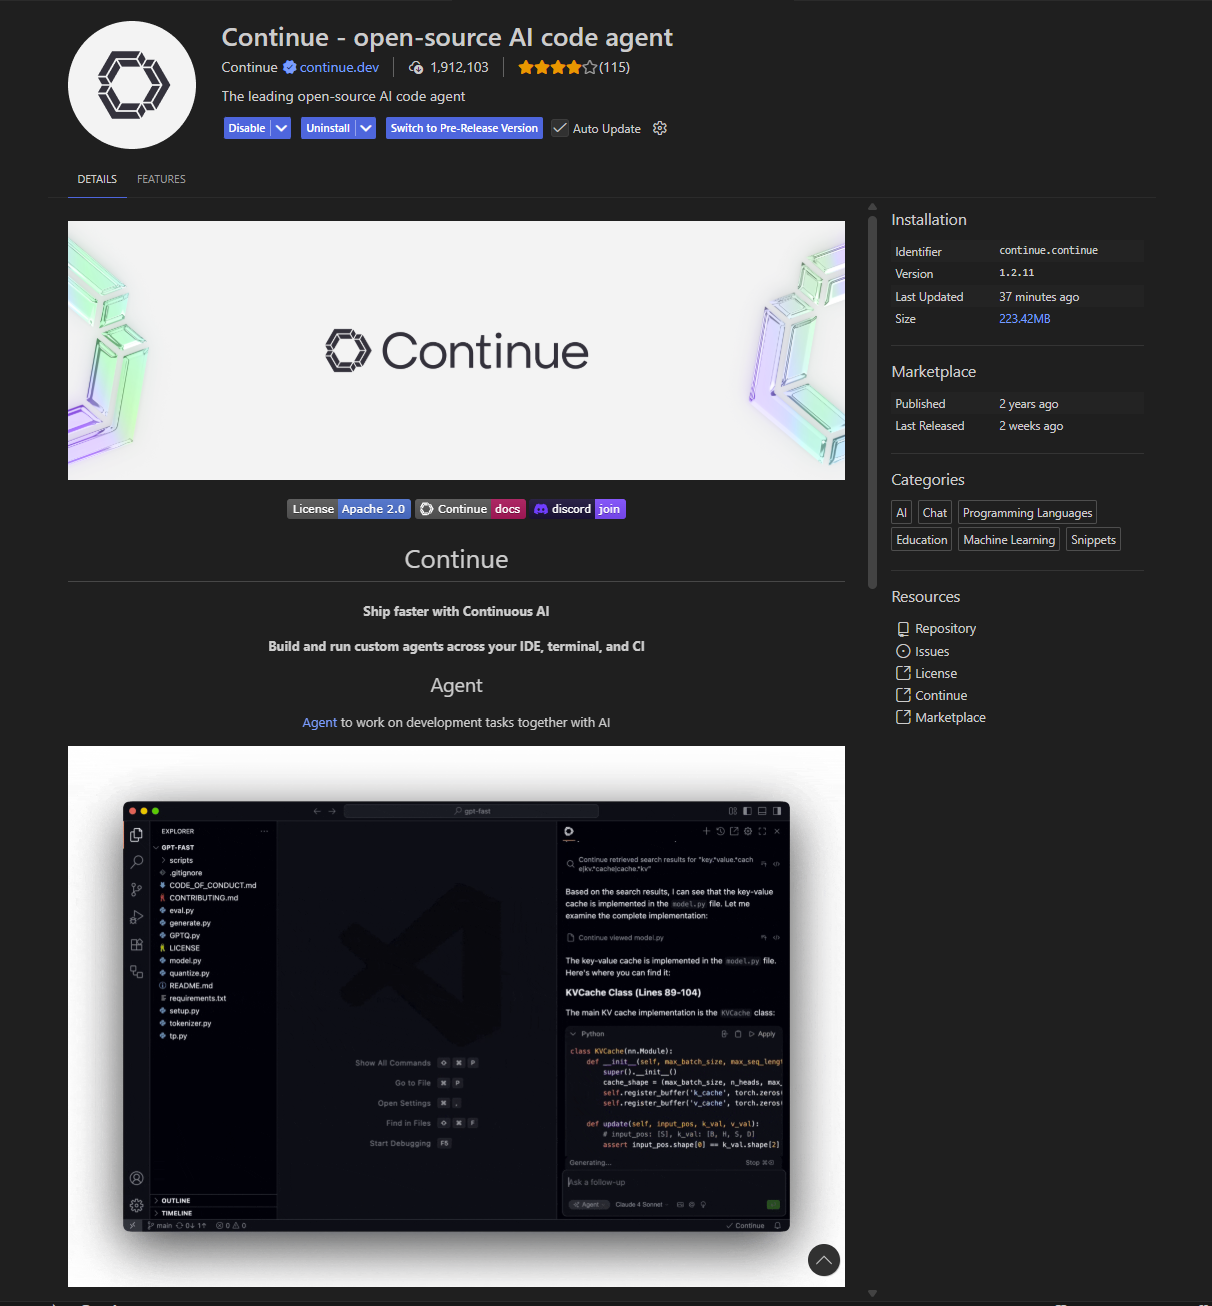
2. Open Continue Configuration
In Visual Studio Code:
- Click the Continue icon
- Open the Settings / gear menu
- Select Configure Continue
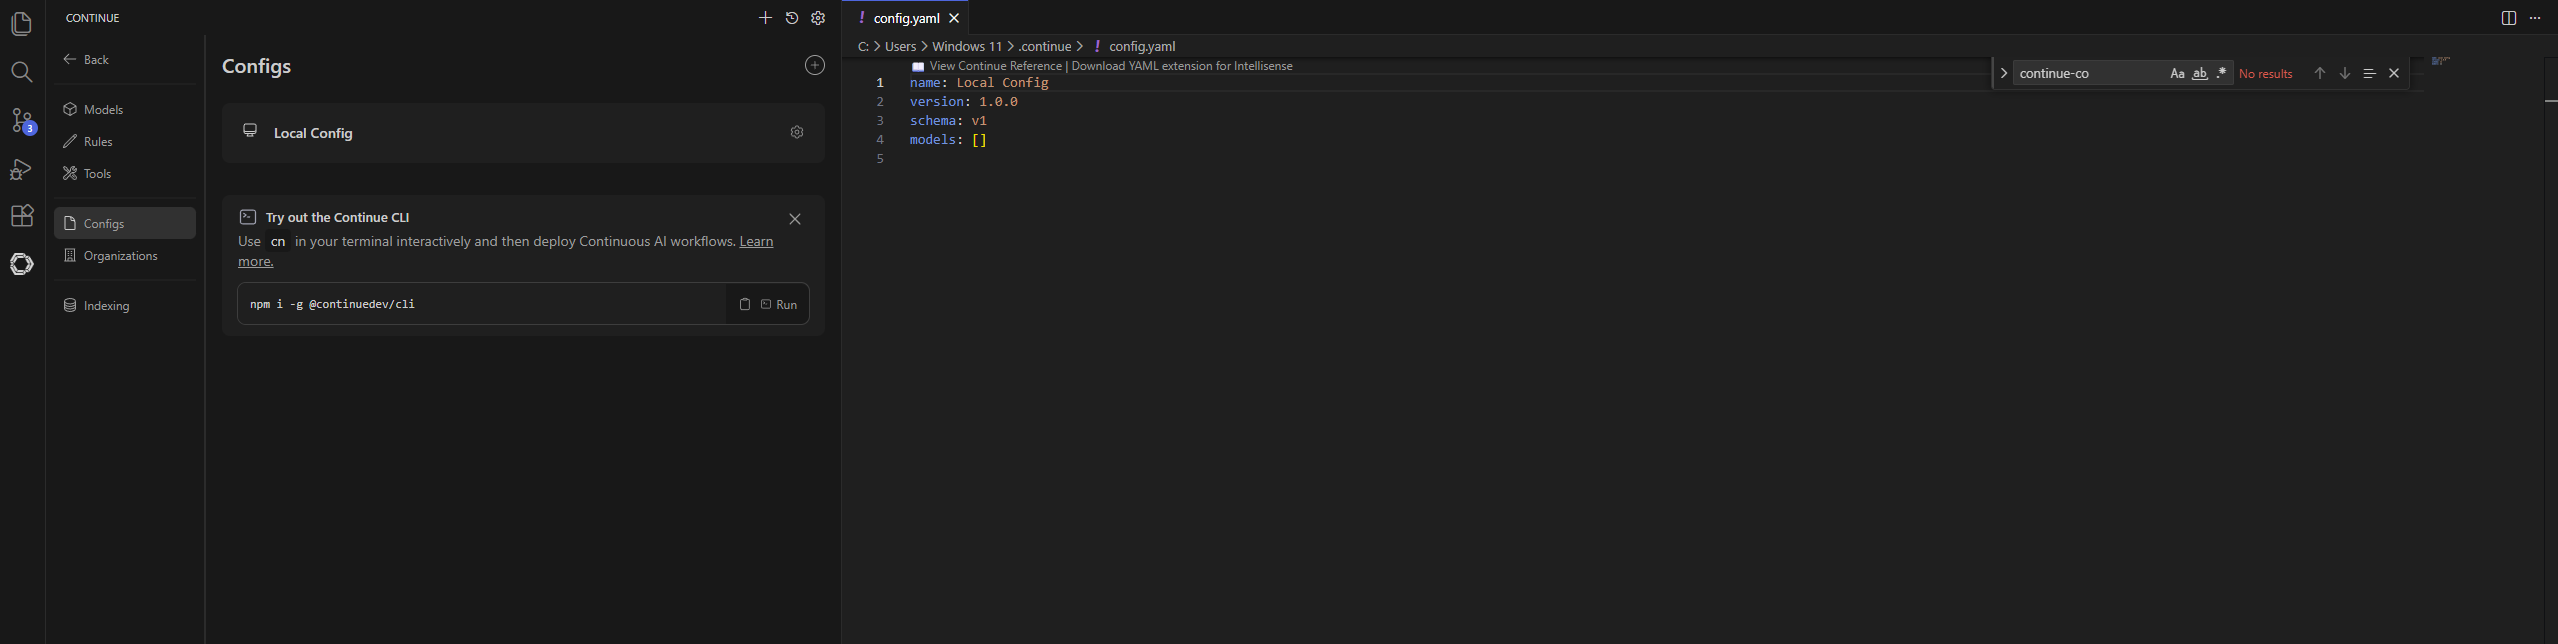
This opens the configuration file:
.continue/config.yaml3. Configure Continue to Use Cube AI
Replace the contents of config.yaml with the configuration below.
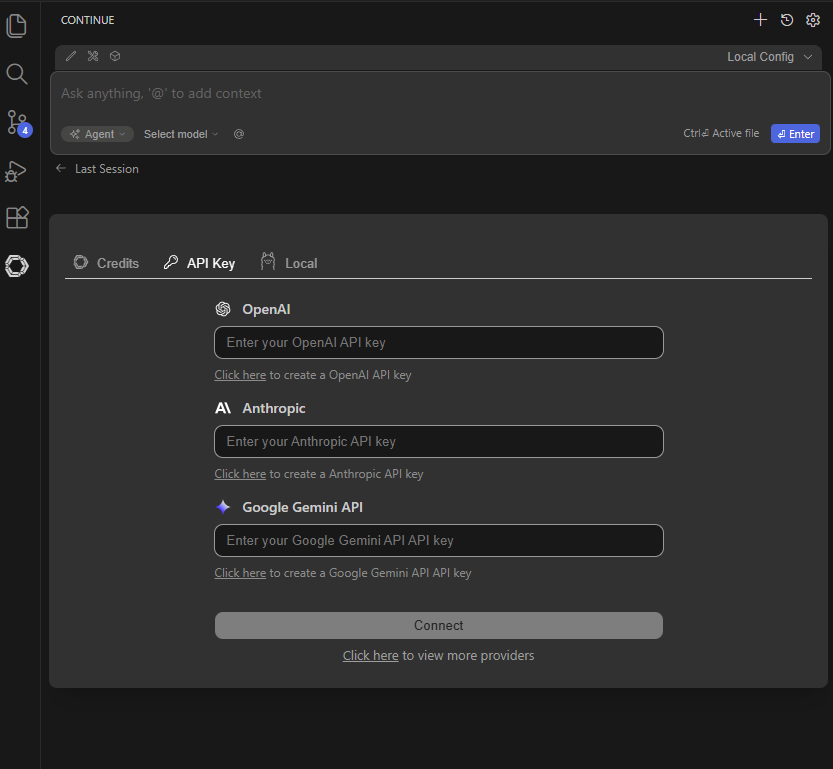
Before editing the file, make sure you have created a Personal Access Token (PAT). You can create one from the Cube AI UI under Profile → Personal Access Tokens.
name: Cube AI
version: "1.0.0"
schema: v1

models:
  - name: llama3.2
    provider: openai
    model: llama3.2:3b
    apiKey: <pat>
    apiBase: https://<your-cube-instance>/proxy/<your-domain-id>/v1

  - name: starcoder2
    provider: openai
    model: starcoder2:3b
    apiKey: <pat>
    apiBase: https://<your-cube-instance>/proxy/<your-domain-id>/v1

context:
  - provider: code
  - provider: terminal
  - provider: diff
  - provider: folder
  - provider: problems
  - provider: docs
Replace
<pat>→ your Cube AI Personal Access Token<your-cube-instance>→ your Cube AI host, for examplelocalhostordev.cube.ultraviolet.rs<your-domain-id>→ the domain ID you want VS Code to use
verifySsl: falseshould be used only for local development. Cube AI exposes an OpenAI-compatible API through the proxy endpoint, so Continue should be configured withprovider: openaiand the/v1base path.
4. Using Continue With Cube AI
Once configured:
- Press Ctrl + L to open the Continue chat
- Ask questions or request explanations
- Use inline completions powered by Cube AI models
Example prompts:
- Explain this function
- Refactor this TypeScript file
- Write unit tests for this module
5. Troubleshooting
Connection issues
- Ensure Cube AI is running (
make up) - Verify that the domain exists
- Check that your PAT is valid
SSL issues
If you are running Cube AI locally without valid TLS certificates, set:
requestOptions:
  verifySsl: false
For production deployments, always use valid TLS certificates.
6. Video Tutorial
A complete walkthrough is available here:
Watch on YouTube